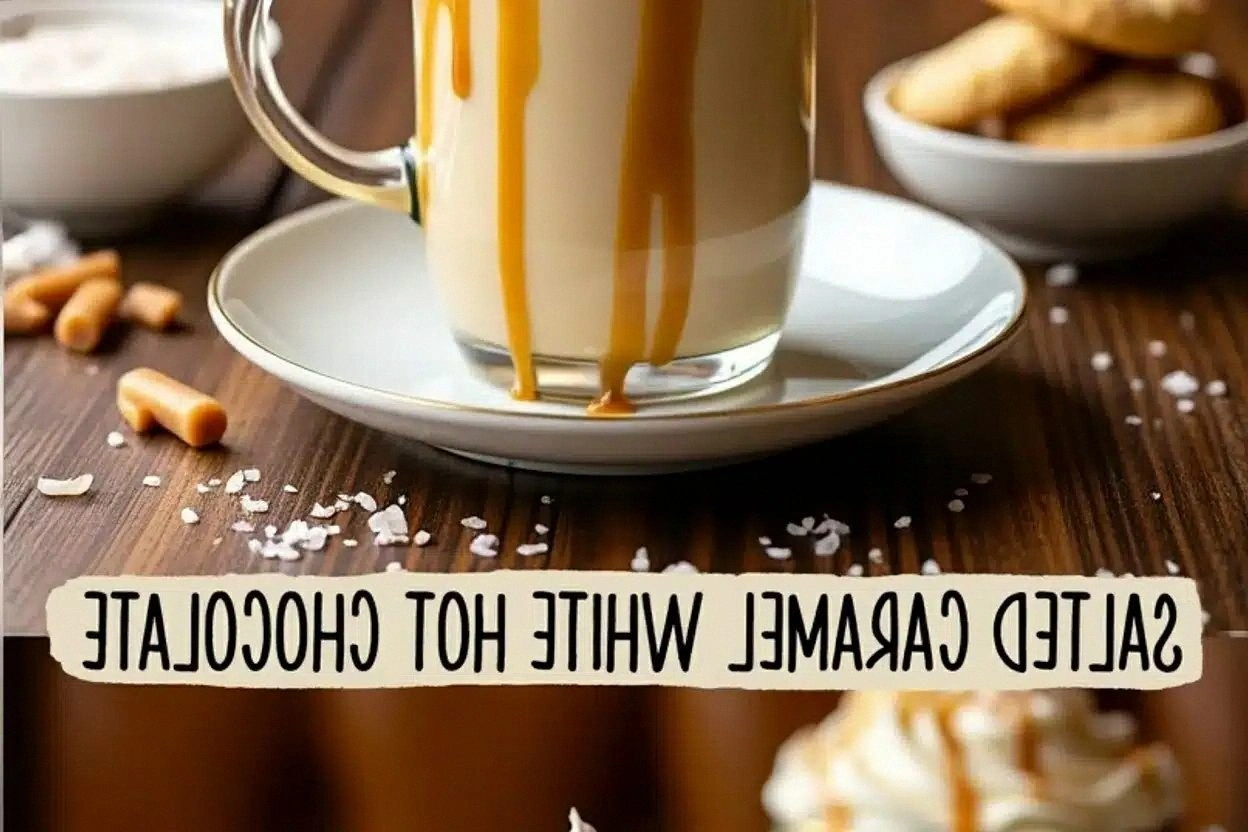
Picture this: a rainy Saturday afternoon, the kind where the clouds look like they’re about to burst into a chorus of sighs, and you’re stuck in the kitchen with nothing but a half‑finished batch of store‑bought marshmallows that have turned into a sticky, sad mess. I was in that exact moment, daring my roommate to taste the disaster and not go back for seconds. Spoiler alert: they didn’t even finish the first spoonful. That mishap sparked a relentless quest for the ultimate marshmallow fluff—one that would never collapse, never get gritty, and would cling to a spoon like a cloud hugging a sunrise.
The kitchen soon filled with the sweet perfume of sugar caramelizing, the soft hiss of corn syrup bubbling, and the faint, comforting whirr of the mixer as it turned raw egg whites into glossy peaks. My fingertips tingled from the heat of the saucepan, the wooden spoon felt warm against my palm, and the air was thick with anticipation, like waiting for the first drop of rain after a long drought. When the fluff finally rose, it was a glossy, ivory‑white cascade that shimmered under the kitchen lights—pure, airy, and as smooth as a fresh‑painted wall.
Most recipes I've tried either left the fluff too runny, too grainy, or gave it a rubbery bite that made me question my life choices. This version? Hands down the best version you'll ever make at home. The secret isn’t a mysterious ingredient; it’s a precise dance of temperature, timing, and a dash of confidence that turns ordinary pantry staples into a dessert that practically sings. I’ll even let you in on a little twist involving a splash of water that most cooks completely overlook.
Ready for the game‑changer? Let me walk you through every single step — by the end, you’ll wonder how you ever made it any other way.
What Makes This Version Stand Out
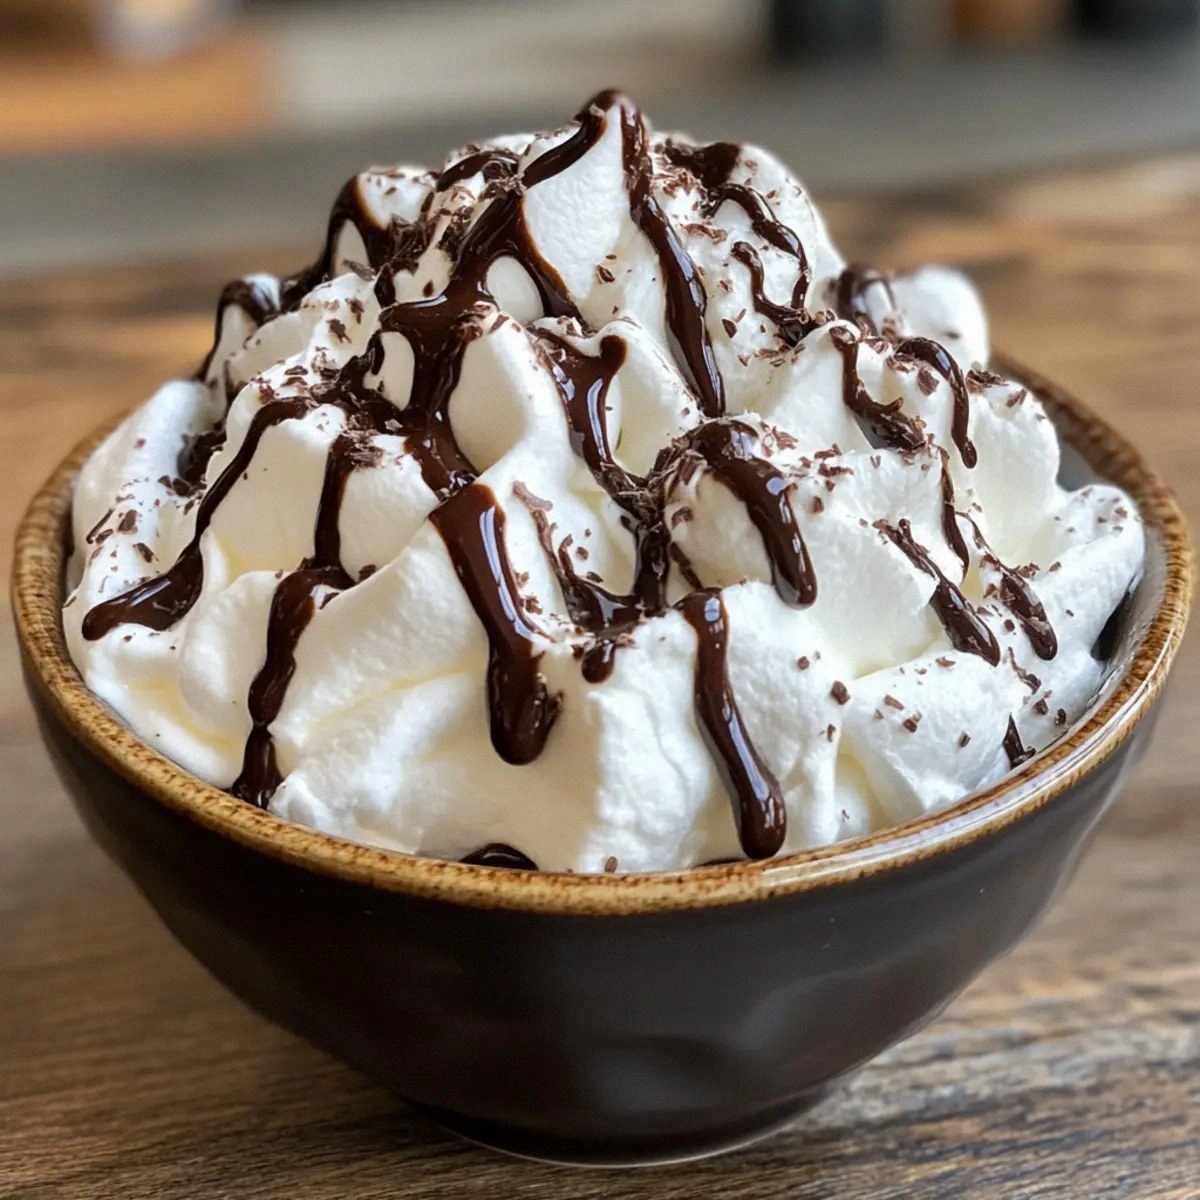
- Texture: The fluff achieves a silk‑smooth mouthfeel that melts on the tongue like butter on a hot pancake, thanks to the perfect balance of sugar and corn syrup.
- Flavor: A subtle vanilla backbone lifts the sweetness without overwhelming, creating a flavor profile that’s both nostalgic and sophisticated.
- Simplicity: Only six pantry‑stable ingredients, no gelatin, no gelatin‑derived stabilizers, and no expensive specialty tools.
- Stability: Unlike many homemade versions that deflate within an hour, this fluff holds its lofty peaks for days when stored correctly.
- Crowd Reaction: I dare you to taste this and not go back for seconds; even the most skeptical sweet‑tooth will be converted.
- Ingredient Quality: Using light corn syrup prevents the dreaded grainy texture that heavy syrups can cause.
- Method: The hot‑stage sugar syrup combined with a high‑speed whisk creates a glossy, stable foam that most recipes miss.
- Make‑Ahead Potential: This fluff can be prepared ahead of time, stored, and still taste as fresh as the moment you whipped it.
Inside the Ingredient List
The Sweet Base
1 cup water – The water is the silent hero that dissolves the sugar and corn syrup, creating a uniform syrup that can be heated without scorching. Skipping it or using too little will result in a caramel that clumps and burns, ruining the fluff’s smoothness. If you’re out of filtered water, tap works fine, but let it sit for a minute to let any chlorine evaporate.
The Texture Crew
2 cups granulated sugar – Sugar is the structural backbone; it crystallizes just enough to give the fluff body while remaining invisible to the palate. Using superfine sugar can speed up dissolution, but regular granulated works perfectly if you keep the heat steady. A cheap sugar can introduce off‑flavors, so I always opt for a brand that’s at least “pure cane.”
1 cup light corn syrup – This syrup prevents sugar crystals from forming, ensuring a glossy, non‑grainy final product. Light corn syrup has a neutral flavor; dark versions would add an unwanted caramel note. If you’re allergic or avoiding corn, a honey‑light syrup can substitute, though the texture will be slightly different.
The Lift
4 large egg whites – Egg whites are the aeration engine. Fresh, room‑temperature whites whip faster and hold more air. If you use older eggs, add a pinch of cream of tartar (which we already have) to stabilize the foam.
The Final Flourish
1 teaspoon cream of tartar – This acid stabilizes the egg whites, preventing them from collapsing mid‑whip. Skipping it is a common mistake that leads to a fluffy that deflates as soon as you stop mixing. If you don’t have cream of tartar, a few drops of lemon juice or white vinegar work as a substitute.
1 teaspoon vanilla extract – Vanilla adds depth, turning a simple sugary cloud into a nuanced dessert. Use pure extract for the cleanest flavor; imitation can taste metallic.
Everything's prepped? Good. Let's get into the real action…

The Method — Step by Step
First, gather a heavy‑bottomed saucepan and combine the water, granulated sugar, and light corn syrup. Place the pan over medium‑high heat and stir just until the sugar dissolves—no need to whisk; you want a clear, glossy mixture. Once dissolved, stop stirring and let the syrup come to a rolling boil. Keep a candy thermometer handy; the target is 240°F (115°C). That sizzle when it hits the pan? Absolute perfection.
While the syrup is heating, separate the egg whites from the yolks, making sure no yolk contaminates the whites. Place the whites in the bowl of a stand mixer fitted with the whisk attachment. Add the teaspoon of cream of tartar now, which will help the whites reach stiff peaks faster. I like to start the mixer on low, then gradually increase to medium‑high.
Kitchen Hack: If you’re short on time, use a clean, dry glass bowl; glass retains cold better, giving you stiffer peaks.When the syrup reaches 240°F, remove it from the heat immediately. This is the moment of truth—if you let it go higher, the sugar will crystallize, ruining the fluff’s smoothness. Let it sit for a few seconds; you’ll see tiny bubbles forming, a sign it’s ready. Meanwhile, increase the mixer speed to high.
Now comes the dramatic part: with the mixer running, carefully pour the hot syrup into the egg whites in a thin, steady stream. Aim for the center of the bowl so the syrup envelops the whites without splashing. You’ll hear a faint hissing sound as the hot liquid meets the cold whites—this is the magic that creates a stable foam.
Continue whisking on high for about 7‑10 minutes. The mixture will transform from a glossy liquid to a thick, glossy cloud that triples in volume. You’ll notice the bowl’s sides start to look glossy, and the mixture will become glossy enough to hold a spoonful without sliding off. The scent will shift from caramel to a sweet, buttery perfume.
Watch Out: Do not over‑mix after the fluff reaches glossy peaks; it will become grainy and start to separate.Once the fluff is glossy and holds stiff peaks, add the vanilla extract. This is the final flourish that turns a sugary cloud into a dessert that sings. Fold the vanilla in gently with a rubber spatula, just enough to incorporate without deflating the air you’ve worked so hard to trap.
Transfer the marshmallow fluff into a clean, airtight container. A wide‑mouth jar works best because it allows you to scrape every last bit without breaking the peaks. Let it cool to room temperature before sealing; this prevents condensation that could make the fluff watery.
Refrigerate for at least one hour before serving. The chill helps the fluff set, giving it a firmer bite while preserving its airy texture. When you finally spoon it onto toast, into a milkshake, or dollop it onto a brownie, you’ll hear the faint “whoosh” of the fluffy cloud meeting the plate—pure bliss.
That's it — you did it. But hold on, I've got a few more tricks that'll take this to another level...
Insider Tricks for Flawless Results
The Temperature Rule Nobody Follows
Never guess the syrup temperature; always use a candy thermometer. A few degrees off and you’ll either end up with a runny mess or a grainy, over‑cooked fluff. I once tried to eyeball it and the result was a rubbery slab that clung to the spoon like old chewing gum. Trust the thermometer, and you’ll get that glossy, stable foam every time.
Why Your Nose Knows Best
When the syrup hits 240°F, you’ll notice a subtle caramel aroma that’s sweeter than burnt sugar but richer than plain sugar water. That scent is your cue that the sugar has reached the soft‑ball stage, the perfect point for marshmallow fluff. If you ever lose the thermometer, trust your nose—just be careful not to burn yourself.
The 5‑Minute Rest That Changes Everything
After you finish whisking, let the fluff sit undisturbed for five minutes before adding vanilla. This brief pause lets the foam stabilize, preventing the vanilla from breaking the peaks. I once poured vanilla straight away and the fluff deflated a little; the rest period solved that problem instantly.
Egg White Freshness Factor
Fresh eggs whip up faster and hold air longer. If you’re using eggs that have been in the fridge for a week, separate them a day ahead and let them come to room temperature. The difference is like comparing a fresh breeze to a stale draft.
Stir‑Free Storage
When storing, avoid shaking the jar. Instead, keep the lid tight and let the fluff settle. If you need to stir, do it gently with a silicone spatula; vigorous stirring will break the airy structure you worked so hard to achieve.
Creative Twists and Variations
This recipe is a playground. Here are some of my favorite ways to switch things up:
Chocolate Swirl
After the fluff reaches glossy peaks, fold in 2‑3 tablespoons of melted dark chocolate. The result is a rich, velvety swirl that pairs perfectly with strawberries or as a topping for ice cream.
Coffee Infused
Replace the vanilla extract with 1 teaspoon of espresso powder dissolved in a tablespoon of hot water. The coffee‑kissed fluff adds depth to tiramisu or can be dolloped onto a mocha latte.
Spiced Autumn
Stir in ½ teaspoon of pumpkin spice and a pinch of cinnamon during the final folding stage. This variation shines on top of pumpkin pancakes or as a festive dip for pretzel sticks.
Fruit‑Burst
Gently fold in a cup of finely diced fresh mango or pineapple after the fluff is done. The fruit pieces add a juicy pop that contrasts the sweet cloud, making a perfect brunch spread.
Nutty Crunch
Toast ¼ cup of chopped almonds or hazelnuts, then fold them in for a crunchy surprise. The nuts add texture and a buttery note that elevates the fluff from simple to spectacular.
Storing and Bringing It Back to Life
Fridge Storage
Transfer the fluff to a clean glass jar with a tight‑fitting lid. It will keep fresh for up to 5 days in the refrigerator. Keep it in the main compartment, not the door, to maintain a consistent temperature.
Freezer Friendly
For longer storage, portion the fluff into airtight silicone bags, flatten them, and freeze for up to 2 months. Thaw overnight in the fridge, then give it a quick stir before serving.
Best Reheating Method
When you’re ready to use it, place the jar in a bowl of warm water for a minute, then stir in a tiny splash (about a teaspoon) of water. The steam revives the airy texture, making it as fluffy as the day you made it.